Workflow Automation Foundations
5 Key Benefits of Automating Repetitive Tasks
June 3, 2025•10 min read
Are you drowning in the daily grind of manual, repetitive tasks? From endless data entry and tedious report generation to onboarding new customers, the list never seems to end. You know automation is the answer, and you’ve heard incredible things about powerful tools like n8n. But when you open the application, you’re met with a blank canvas that feels more intimidating than inspiring. Where do you even begin?
The real challenge isn't just learning the tool itself; it's the lack of a clear plan before you drag and drop your first node. Without a blueprint, you're building blind. This guide will show you how to map your n8n workflow from start to finish, turning that intimidating blank canvas into a launchpad for powerful, reliable automation.
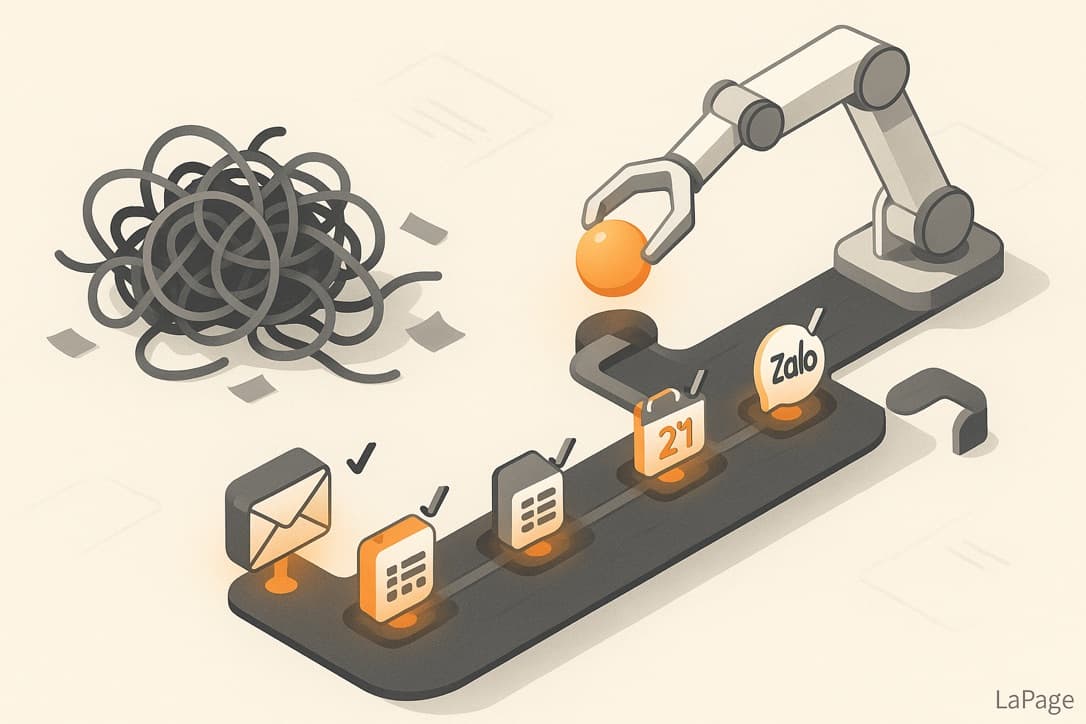
The temptation to dive right in and start connecting nodes is strong. It feels productive, but building on the fly often leads to what developers call a "spaghetti workflow"—a tangled, confusing mess of nodes that's nearly impossible to debug or understand weeks later. This unplanned approach is a recipe for frustration.
Jumping in without a map can lead to several painful consequences:
The secret to avoiding this chaos is surprisingly simple: workflow mapping. This is the act of drawing out your entire process—from start to finish—on paper or a digital whiteboard before you even open the n8n app. You wouldn't build a house without a blueprint, and the same principle applies to building robust automations.
Taking a few minutes to sketch out your process provides immense value that far outweighs the time spent. It transforms your entire approach to automation.
Ready to create your first map? It's easier than you think. You don't need fancy software; a pen and paper or a simple tool like Miro works perfectly. Follow these five actionable steps.
Every automation begins with a single event that kicks off the entire process. This is your starting point. Ask yourself: What one thing must happen for this workflow to start?
This event will become your Trigger Node in n8n. Common examples include:
Write this trigger down and draw a circle around it. This is the head of your workflow.
Now, walk through the process step-by-step from the trigger. Document every single action that needs to happen and every decision that needs to be made. Be as granular as possible.
For decision points, use simple "If/Then" logic. This is crucial for handling different scenarios within the same workflow.
Here’s a simple action list for a new lead:
This is a critical step many beginners miss. For each action you listed, define what specific information it needs to work (its input) and what information it creates (its output).
For example:
Thinking about data flow helps you understand how each node in n8n will pass information to the next, which is fundamental to how n8n works.
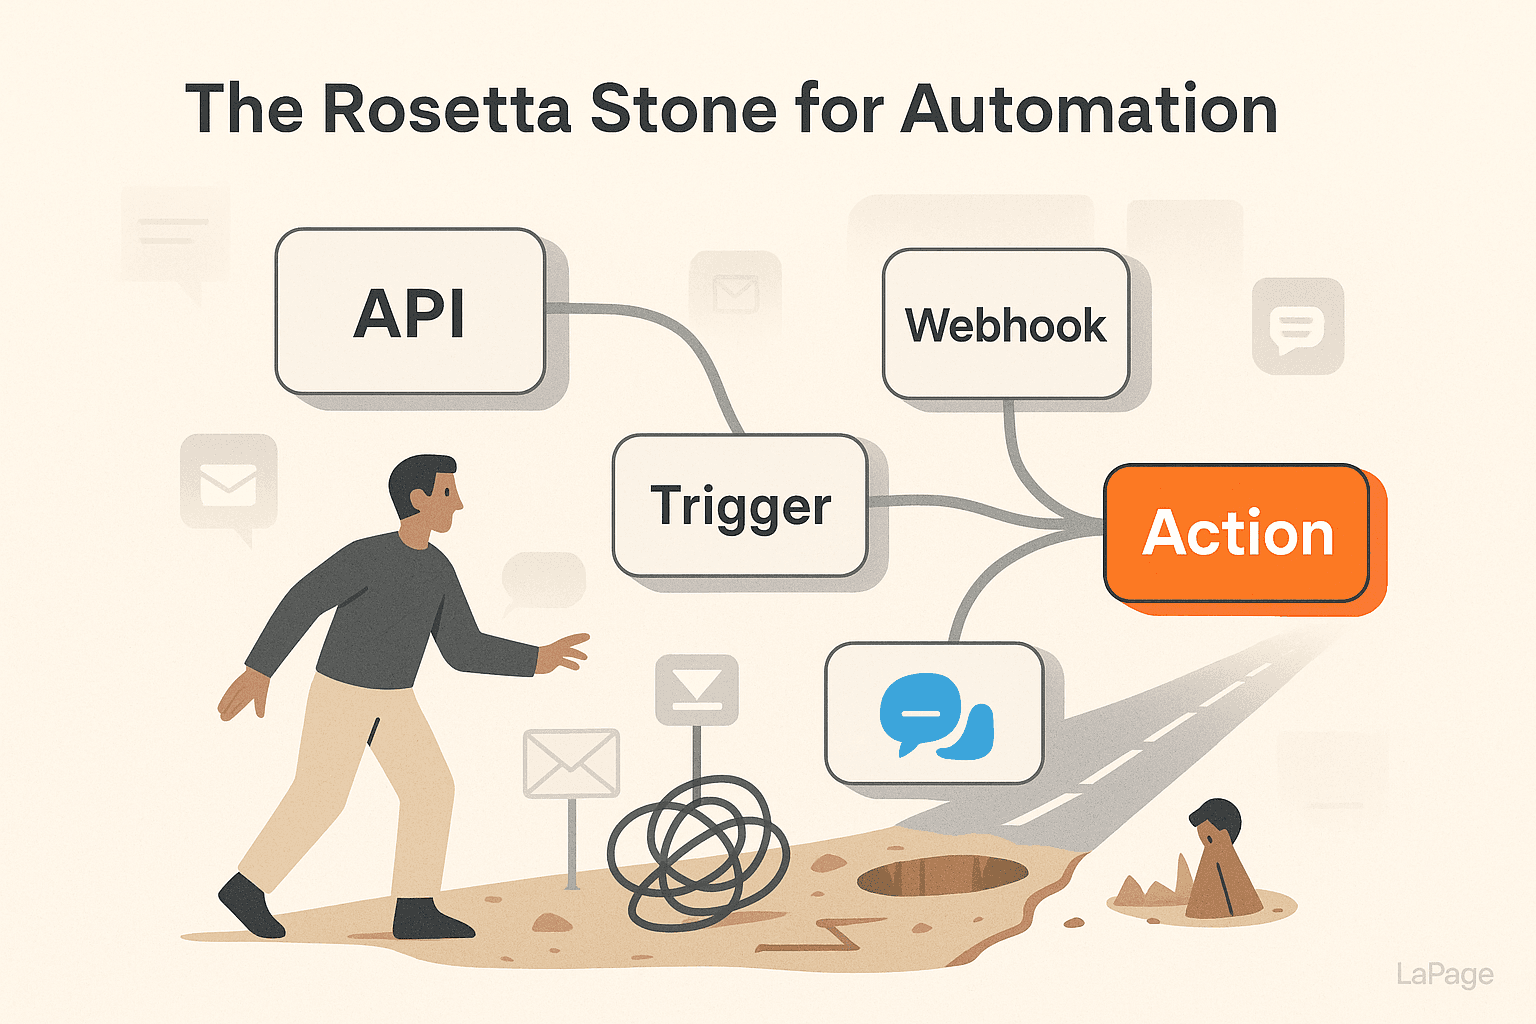
Now it's time to visualize the process. Use simple shapes connected by arrows to represent the flow. A common convention is:
Connect your shapes with arrows to show the direction of the process. For clarity, you can write small notes along the arrows to indicate what data is being passed between steps (e.g., "Lead Email").

Image by Jonathan Cooper from Unsplash
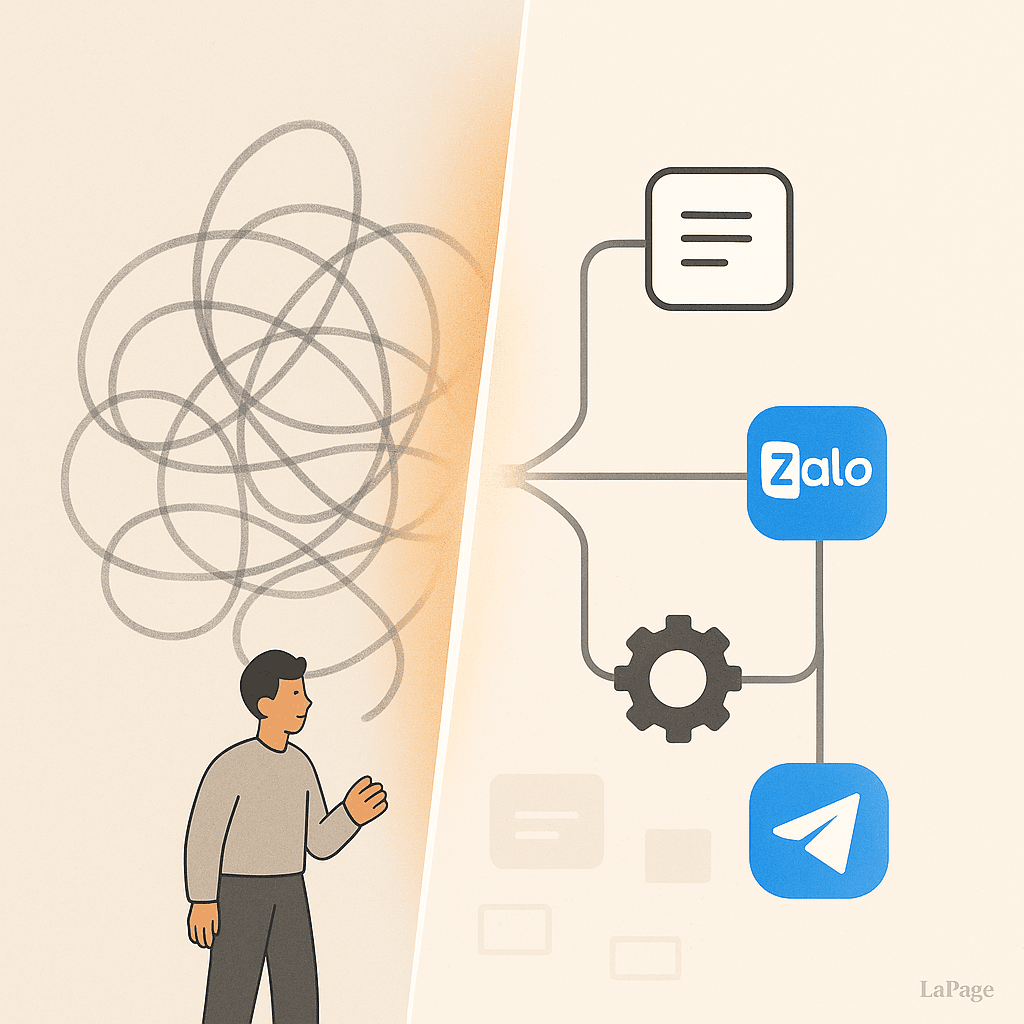
Alt text: A tangled mess of wires representing a confusing spaghetti workflow.
With your completed map in hand, building the workflow in n8n becomes a simple translation exercise. Each shape on your map corresponds directly to a type of node in n8n.
Go through your map one shape at a time, find the corresponding node in n8n, add it to your canvas, and configure it using the inputs you defined in Step 3.
Let's put this into practice by mapping a common business process: handling a new lead from a website contact form.
The Scenario: A potential customer fills out a Typeform on our website. We want to route them to the correct sales team based on their company size and notify the team on Slack.
The Mapped-Out Flow:
Trigger (Circle): A new lead submits our Typeform.
Action (Square): Add the lead's information to our central "Leads" database in Google Sheets.
Decision (Diamond): Check the "Company Size" field. IF the value is greater than 50 employees...
Action (Square - Path A): ...THEN send a high-priority message to the #enterprise-sales channel in Slack. The message should say, "New enterprise lead: [Company Name]! Contact: [Name] at [Email]."
Action (Square - Path B): ...ELSE send a standard message to the #smb-sales channel in Slack. The message should say, "New SMB lead: [Company Name]."
Action (Square - Merged Path): After either Slack notification is sent, send a "Thank You" email to the lead using Gmail, confirming we received their request.

Image by Bjorn Pierre from Unsplash
Alt text: A flowchart diagram showing the n8n workflow for a new lead, starting with a Typeform trigger and branching based on company size.
This clear, simple map is now ready to be built in n8n with confidence. For more complex logic, you might explore some of n8n's advanced logic nodes.
As you get more comfortable with mapping, keep these best practices in mind to create clean, scalable, and resilient workflows.
As your automation needs grow, you may want to integrate tools that require more complex configurations, such as region-specific applications or proxies for certain services. This can often be a roadblock, involving hours of frustrating setup.
For users with these specialized requirements, managed n8n platforms can be a lifesaver. For example, a platform like LaPage streamlines this entire process by providing a ready-to-use n8n environment. It comes with a pre-installed Zalo node for connecting with customers in the Southeast Asian market and a plug-and-play Telegram proxy, saving you the significant time and technical headache of manual configuration. Learn more about our managed hosting services.
Mastering n8n isn't just about knowing which nodes to use. It's about the strategic clarity you gain before you start building. The simple act of mapping your workflow is the single most effective thing you can do to ensure your automations are robust, reliable, and truly solve your business problems.
A few minutes spent with a pen and paper will save you hours of frustration at the keyboard. You'll build faster, debug quicker, and create automations that you can depend on.
What is one repetitive task in your daily work that you can map out today? Pick one, follow these steps, and see what clarity emerges. Share your chosen task in the comments below!
An n8n node is a building block of a workflow. There are three main types: Trigger Nodes (which start a workflow), Action Nodes (which perform a task like sending an email or adding data to a sheet), and Logic Nodes (which control the flow with rules like IF/THEN statements).
Yes, n8n has a source-available model, and you can self-host it for free with full functionality. They also offer paid cloud-hosting plans that handle the setup, maintenance, and hosting for you.
A node is a single step in your automation process (e.g., 'Read from Google Sheets'). A workflow (or 'automation') is the complete, end-to-end process created by connecting multiple nodes together in a specific sequence to perform a series of tasks.
No, you do not need to know how to code to use n8n for most tasks. Its visual, node-based interface allows you to build powerful automations by connecting pre-built blocks. However, for highly advanced or custom scenarios, knowledge of JavaScript or JSON can be beneficial for using the Code Node or writing expressions.
Passionate about building scalable web applications and helping businesses grow through technology.

Get the latest articles, tutorials, and updates on web development and hosting directly to your inbox.